
BUY an outdoor wooden garden dining table HERE!
(As Amazon Associate I earn from qualifying purchases)
(As Amazon Associate I earn from qualifying purchases)
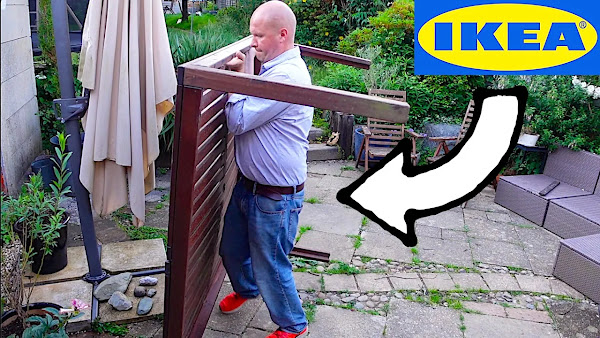
This is our IKEA wooden garden table and it's in a bit of a state. This is how I renovate it to give it a few more years.
IKEA Applaro opening and review:
Why I'm revamping our IKEA garden table - 3 YEARS ON
TRANSCRIPT: (CLICK PLAY ON THE VIDEO ABOVE)
THIS IS THE TRANSCRIPT - CLICK PLAY ON THE VIDEO ABOVE!
Hello, welcome back to the channel. This is the Dad Delivers Vlog where I try new things to make your family happy. And the new thing I was trying three years ago was this, the IKEA APPLARO wooden garden table, and it was fantastic. I have a video; there's a link in the description showing you an unboxing on how to assemble the APPLARO wooden table. It's much bigger than I thought it would be. We've got quite a large patio. I'm going to show you what it looks like; it's just behind me. I'm going to show you what it looks like three years on, but in that video, I showed how to put the table together, also with the chairs. It looks really good. It was a really nice brown wood look, but I didn't know how long it would last and what it would look like three years down the line. That's what this video is about. I'm going to step aside and reveal what it looks like. Should we just, let's just do it now?
This is what it looks like now, and it could look better. I thought it might look characterful, but it does just look out and out clapped out. A few things, I'm going to walk you through a few things that are probably an issue that you might be able to avoid. Actually, I'm going to hold the camera alongside the flat edge of the table, and you can see how the slats sink in. In the video putting it together, you can see that there are kind of these pins in the middle, and that is the only support for the table in the middle, and we've got kids, and they might have sat on it from time to time, maybe even stood on it for the odd frisbee or two. That has taken its toll, but outside of those, it does kind of warp unevenly.
The biggest thing to happen to the table is obviously this, and this happened this week, and it's kind of why I wanted to make the video. I'm going to try and put this back together again, but it's going to be very difficult because you can see there's a break here and a break on the other side, and there's nothing for it to bite into. So what I'm going to do is flip the table over and I'm going to try and press out the table, flatten it at least, try and make the surface a bit more level, and then see if we can get this plank, this loose plank back onto the table. I think I'm just going to walk on it. I don't know if this is going to snap or break the table, but hopefully, it will push some of it back into place. Oh, it's clicking. I'm not sure it's a good thing.
Okay, well, I hope that's not made things worse and kind of flattened it just a little bit. Next, I'm going to try and fix the missing plank, the plank that has no edges to it. So what I'm going to do is find this plank and I guess cut it to length and then screw it underneath just to hold the missing plank in place. Hoping that didn't go through. Oh, hoping that didn't go through. No, I didn't. Great.
Okay, so I've pre-drilled some holes here, and I'm hoping that this is the right way around. I'm going to slide it underneath, sort of get it into the right position, but there's nothing for it to bite into. I can't really clamp it. I haven't got any clamps that would fit. If I put it in how I think it should go, it doesn't fit at all. Maybe it'd be easier to do this the right way up, you know, try and get the board in the gap, but at least I have something for it to sit on now. It's like a 3D jigsaw puzzle. If one goes, oh, I wonder if your stepping it out actually made it not fit anymore. I should have stepped it out with the board in the right place. Let's try that. I've got it. That's the exact fit. Yes, got it. Fantastic, look at this. So all the others are higgledy-piggledy, but the one I wanted is now dead straight. What I can do now is maybe it'll be easier to... I don't want to lift the table up. There it goes. But I'm going to climb underneath and put the screws into those five pilot holes and hold the thing in place. It's never easy. The screws are pushing the board out of place. So now each time I'm screwing the screw, it's just pushing the board up instead of gripping it in place. So now I've got to put the drill bit back in and go back and drill those pilot holes, the five pilot holes to go through the plank underneath and into the actual top surface plank of wood as well. And then go back and screw the five screws back into place. Oh, finally.
Let me show you closer. So now, oh, look, it's just shown up how bad all the other planks of wood are. But the one here is absolutely the most solid plank on the table. I'm calling this a Dad Delivers Success. I wish that I could have got some varnish to stain it, but I sort of like the colour that it's gone. I like that it looks weathered. You might not like it; you might think it looks clapped out, but I think it's got character, probably a bit too much character. Anyway, thanks for coming along with me on this little trip to our garden table.
Previous post...
How to rescue a dying Olive Tree
All about me, and getting these by email.
No comments:
Post a Comment
Hi, thanks for leaving a comment - I really appreciate it!