
How do you REPLACE a Bosch garden trimmer line when it breaks? I share how I change the strimmer line on our EasyGrassCut 26 in under a minute, with step-by-step instructions on how to fit a replacement spool for this grass trimmer. If you're looking for an easy tutorial on
BUY Bosch replacement line for Grass Trimmer (Amazon commissions earned) 👇 👇 👇
BUY Bosch EasyGrassCut 26 trimmer HERE!
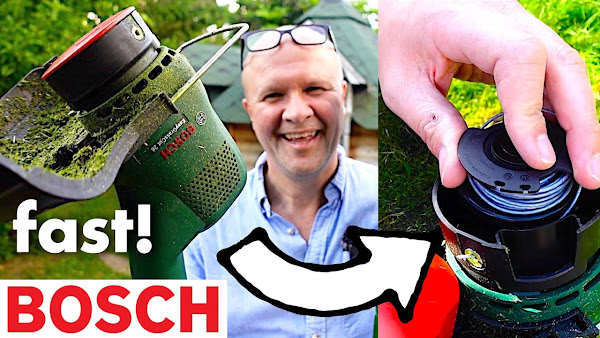
How to change BOSCH STRIMMER LINE in seconds! EasyGrassCut 26
TRANSCRIPT: (CLICK PLAY ON THE VIDEO ABOVE)
THIS IS THE TRANSCRIPT - CLICK PLAY ON THE VIDEO ABOVE!
[Music]
So...
So, your Bosch Grass trimmer or strimmer has snapped the line.
How do you fix the line on a Bosch Garden trimmer?
I need to turn the power off first. There, I don't always remember.
It's really easy. I'm going to go through this step by step, and we'll get your line back up and running.
This is the EasyGrassCut 26, but this is pretty much how all grass strimmers work.
You can see there's like a, obviously, the thing that spins around.
On each side, there are these two buttons.
If we squeeze them together, it lifts the lid off, and then underneath we've got the spool of line.
What we're going to do is we're going to take this out. It's a bit difficult holding this at the same time.
And then we want to feed out just a bit of extra line and make sure that the line in the spool is kind of free running.
It does kind of spill out. If it does, you will have to wind it back up again, otherwise you're going to be doing this a lot.
Inside the spinny thing in the middle—hope this isn't getting too technical for you—on the spinny thing, there's a little hole, an eyelet.
What I'm going to do is feed the line into the eyelet, just over here.
So I just curve that in—whoa, hang on. See that? That is exactly what I didn't want to happen. So we just tighten it up.
I'll show you a close up of that. Can you see? It's gone through. And then we'll set the cartridge back onto the spool holder here, like this. I find it—oh no, it's the wrong way around. Right, so that's another tip. Can you see?
It's got these kind of catches. That's the side that goes down.
And then we can set the cartridge onto this spindle, there, like that. And I'm going to pull it tight just to make sure the line inside is nice and tight.
And then to rewind it back into the cartridge, you just turn it anticlockwise.
You can hear it clicking, and I'll show you why it clicks in a moment.
But that will take the line back in, and we want it to be just about the same length as the protective guard there. So we've got a bit more to go in, but it's okay if it's a bit over because there is a blade or plastic notch on the protective guide.
So when it spins around—let's tuck it in—when it spins around for the first time, it will catch that blade and cut it to the right length.
If you want to feed it out again, there's a black button down here.
If I press that, you can feed it out one notch at a time, and then to wind it back in, just turn the cartridge anticlockwise. So I think we're done there.
So what we need to do is put the lid back on. It's really simple.
Just line up the buttons with the guide holes and just slide it down.
Try and keep it level, otherwise it won't work.
And that clicks on, so that is now good to go.
You can see that the line is not going anywhere.
What we'll do now is turn the power back on, and then watch out, make sure - I'm wearing glasses because it will fly off that excess bit of line on the first turn. Keep your hands and eyes away from it. Here we go, it's going to be noisy.
There, so now it's cut it to exactly the right length, which on this EasyGrassCut 26 is 26 cm diameter.
And away I go around the happy hut.
If you want to buy a replacement line, I have a link, an Amazon link, down in the description to the official Bosch trimmer line.
I personally am using the official products now because I used my dollar store or pound shop trimmer line, and it just melted and just didn't really do the job. So I paid a bit extra, and this does seem to last a bit longer than the cheap alternative lines. But those are on that link as well.
Give me a thumbs up or hit the subscribe button if this video is helping you, or say hi in the comments. I hope this sets you on your way to a bit more garden work. It's lovely to meet you, and right here on screen now is a video that YouTube knows that you are going to love watching next.
Previous post...
How to setup TELEPROMPTER for YouTube! My DESVIEW T3 prompter on Sony ZV-1 camera...
All about me, and getting these by email.
No comments:
Post a Comment
Hi, thanks for leaving a comment - I really appreciate it!